How OpenLabelEngine fits together
A shared Center.
Execution close to your printers.
The Center is the shared workspace. An Automation is a saved workflow. An Automation Service runs assigned work near printers and local data. Its executable and API name is Runner.
Where the work happens
Follow a task through the system.
Select a task to highlight its parts. The diagram shows responsibilities and connections; the steps below explain the path.
Shared application & backend
Center
Open in a browser. Host it in your own environment.
Labels, forms & automations
Author documents, review changes and keep their versions.
Print Center & operator forms
Enter values, preview a label and submit the configured action.
Operations & distribution
Assign work to groups and inspect reported job and deployment state.
the Center connection.
Inside that connection:
Assigned documents and work
Status and results
Your site or printing environment
Local execution
Place a service near the resources it needs.
Automation Service (Runner)
Apply assigned document versions, execute configured work and manage the local queue.
Local triggers & data
Use the files, databases or endpoints configured for this workflow.
Printer connection
Send output through the selected network, driver or spooler path.
Optional direct path: Center reachable network printer. A small installation can also run the Center and an Automation Service on the same computer.
Operator printing
From station input to a print action.
The form is a Center-hosted browser experience. Print Center is part of the same product.
- Open the form. The operator enters or scans the values requested by the station workflow.
- Check the preview. The Center renders the label with those values so the operator can inspect it.
- Submit the action. The configured print path uses a reachable printer directly or local execution through an Automation Service.
- Follow the job. Review the reported outcome and the associated print record.
Automated orders
A saved workflow becomes running work.
The Automation contains the steps and their configuration. The selected execution location determines where it runs and which resources it can reach.
- Author the workflow. Connect its trigger, data sources, transformations, decisions and actions in the Center.
- Assign a version. For local execution, deploy the chosen workflow and its needed documents to a service group.
- Handle the event. The configured trigger starts the workflow; the service reads data and executes its assigned version.
- Inspect the result. Follow the run details, any review branch and the resulting print jobs.
Version deployment
Make the running version a deliberate choice.
A saved edit, a deployment assignment and a service’s applied state answer different operational questions.
- Prepare the document. Save and review the label, form or automation you intend to use.
- Select the target. Choose the service group and the document version it should receive.
- Apply the assignment. Services reconcile the assigned documents through their Center connection.
- Inspect reported state. Check which version the group reports as applied before relying on that deployment.
Make the local connection visible
See the service
behind the site.
Use the Center to inspect the Automation Services in your environment, their connection state and assigned work. Keep the printer and data connections close to the work that needs them.
Explore local print services →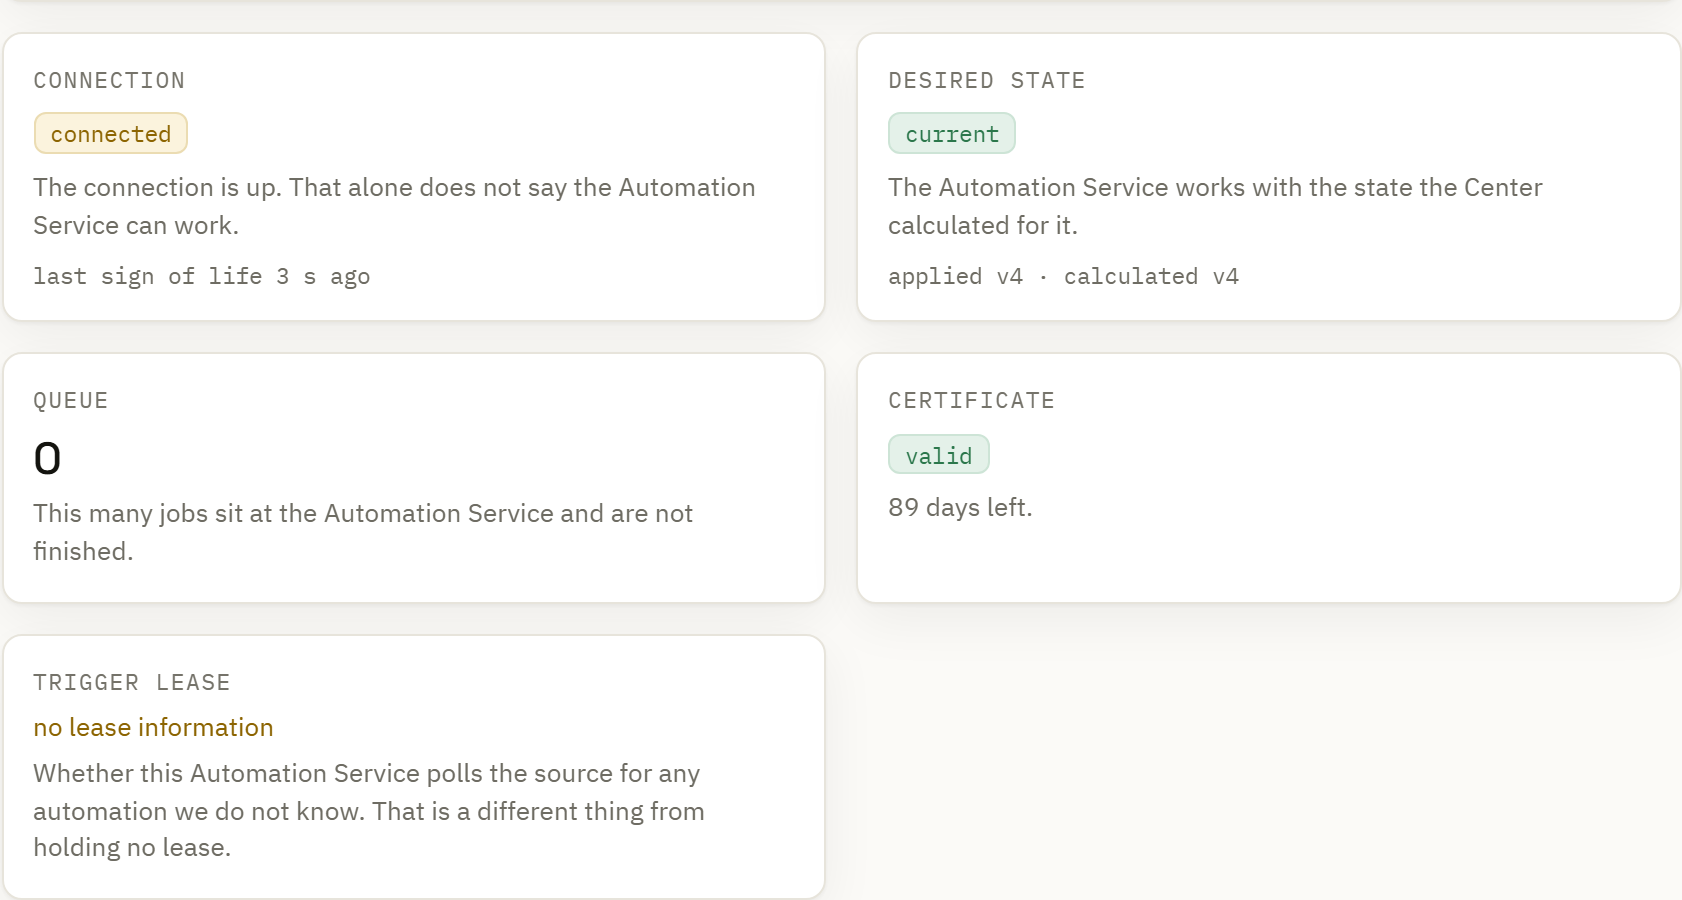
Plan the installation
A few details
that shape the setup.
Choose the placement that fits your network, printers and day-to-day work.
Read the installation guide →What needs to be installed?
Install the Center and, where local execution is needed, one or more Automation Services. Labels, forms and automations are versioned documents managed through the Center. A form’s kiosk view runs in the browser.
Which way does the connection run?
The Automation Service initiates its connection to the Center. Assigned work and status travel within that connection. Configured local triggers can have their own listening ports; printer and data-source connections have their own network requirements.
What happens if the Center connection drops?
Local continuity depends on the deployed documents, trigger, cached resources and print path. The service has persistent queues for local work. Center-hosted operator forms still need access to the Center. Use the connection-loss guide to evaluate the workflow you intend to run.
Explore connection-loss behavior →How do previews relate to printing?
The Center and Runner share the renderer used for rendered-label printing. Printer language, media, density and the selected output path still matter. Use representative labels when checking the path you will operate.
Choose the print path →What does a completed request tell me?
Use the state reported by the specific workflow and print path. A request can be accepted or sent before there is confirmation of physical printing. Inspect the job record and handle uncertain outcomes before deciding to reprint.
Understand print records →Start with the smallest useful setup
One workflow.
A clear place for every part.
Choose a label, a data source and a printer path, then use the quickstart to connect them.