Your first print
This guide shows you every step. You need: a user account and access to the Print Center.
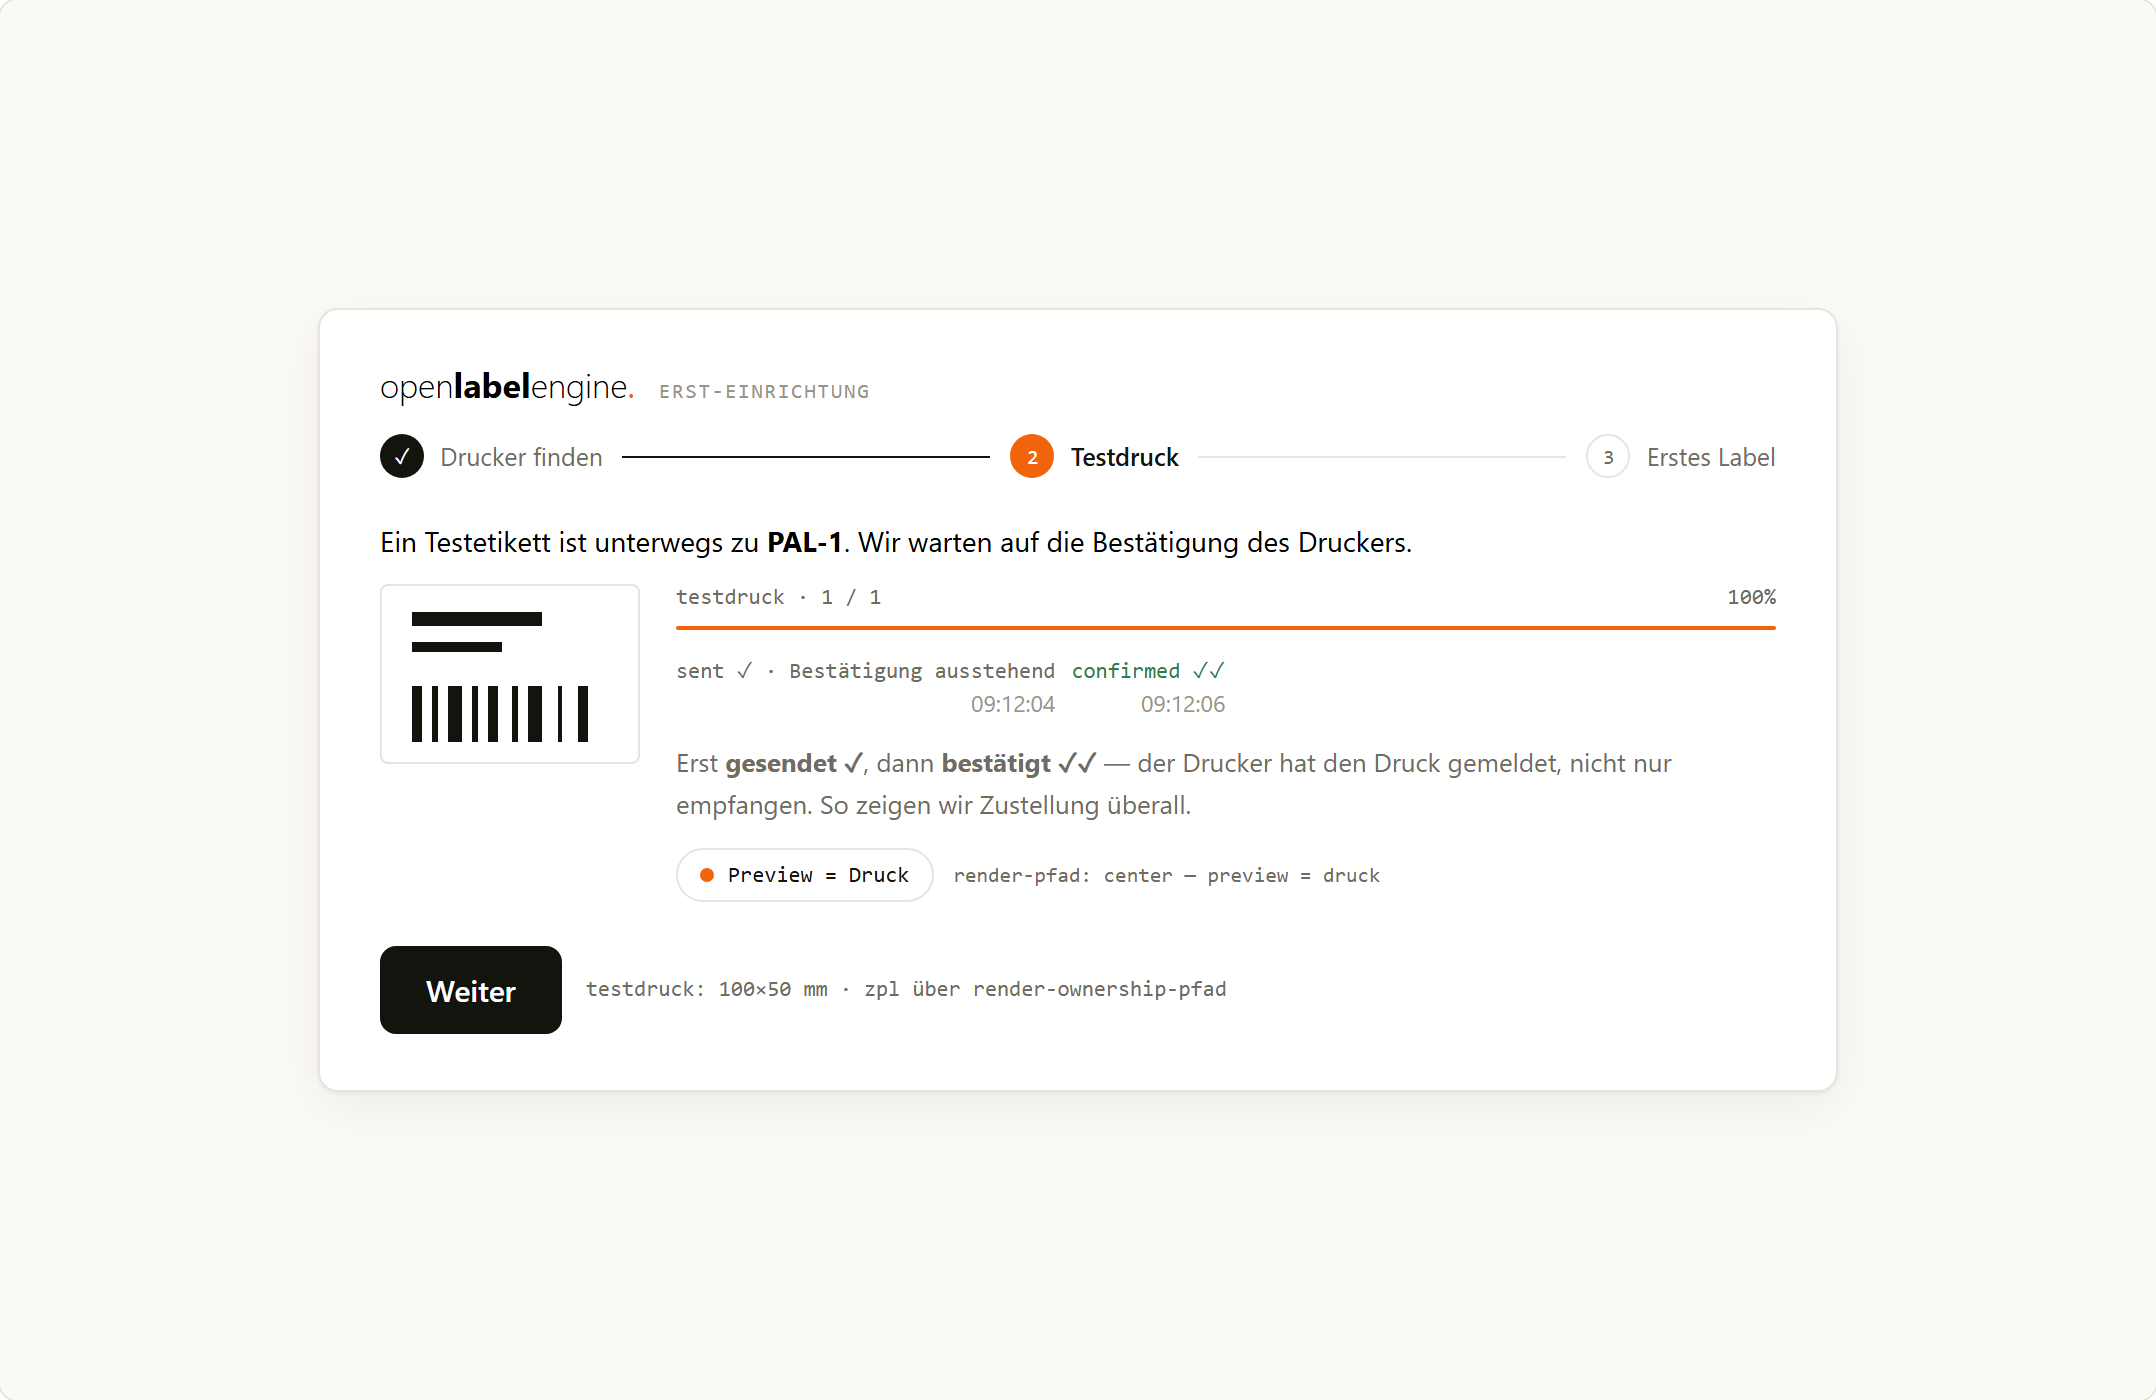
A successful test print: first sent (✓), then confirmed (✓✓).
Step 1: Sign in
Open the Center address in your browser. Enter your username and password. Click Sign in.
Step 2: Pick a label
In the Print Center you see a list of labels on the left. Under Recent are the ones you use most. Click the label you want to print.
Step 3: Fill in the fields
In the middle is the form. For each field, the system knows what it needs:
- Scan fields: Point your barcode scanner at the code. The field fills itself.
- Required fields (*): You must fill these. You cannot print without them.
- Date: Write DD.MM.YYYY. Example: 25.10.2026.
On the right you see the finished label right away. What appears there is exactly what comes out of the printer.
Step 4: Print
Pick your printer at the bottom. Set the quantity. Click Print labels.
Now two things happen:
- First: sent ✓. This means the print job reached the printer queue.
- Then: confirmed ✓✓. This means the printer actually printed the label on paper.
Only the double checkmark proves that paper came out.
Check yourself
- What is the difference between sent ✓ and confirmed ✓✓?
- Where do you see what the label looks like before printing?
- What do you do if a required field (*) is still empty?